Pests & Problems
How to Treat Root Rot and Save Your Plant
Root rot is treatable if you catch it early. Learn how to treat root rot, spot the signs, and help your houseplant recover step by step.
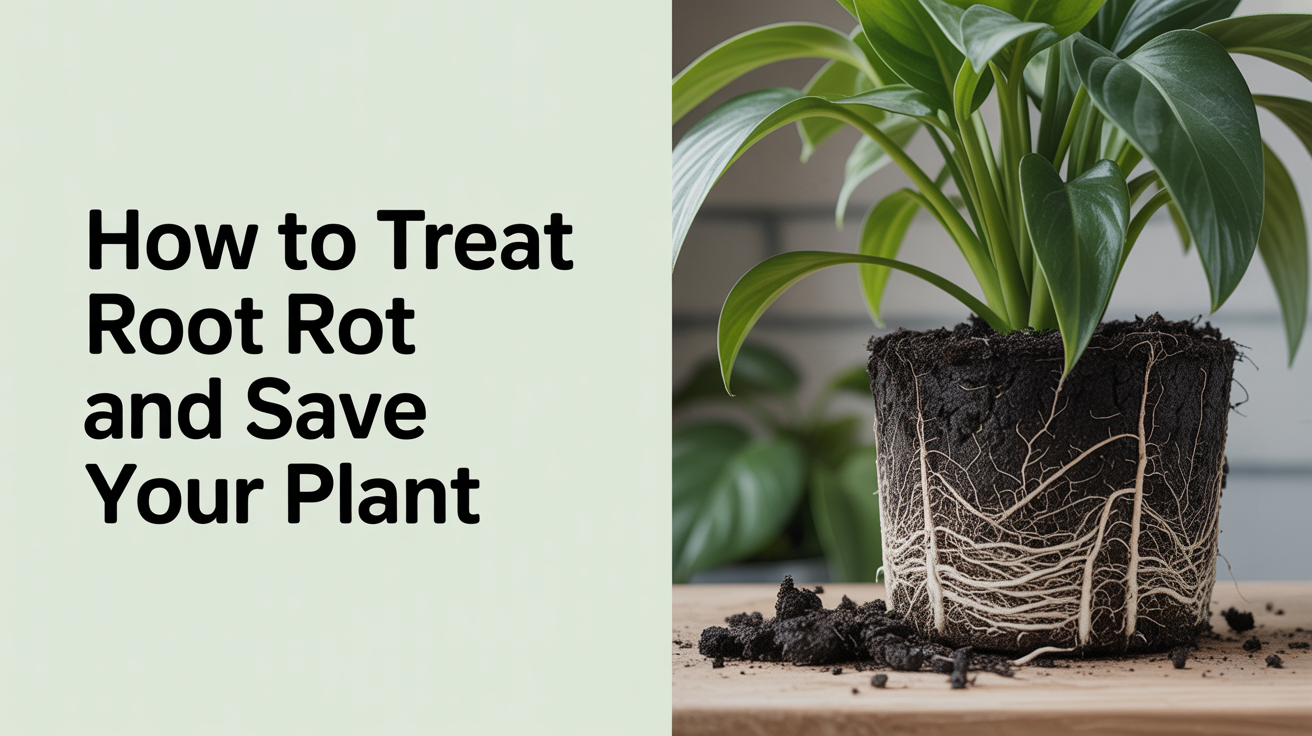
Root rot is one of the most common reasons houseplants decline, and it usually begins the same way: a little too much water, a pot without drainage, or soil that stays wet for days at a time. The good news is that root rot is treatable, and many plants can fully recover if you act before the damage spreads to the crown or stem.
This guide walks through what root rot looks like, how to treat it at home, and how to keep it from coming back.
At a Glance
- Root rot sets in when roots sit in waterlogged, oxygen-poor soil, almost always from overwatering, poor drainage, or old compacted potting mix.
- Above-ground clues include bottom-up yellowing, wilting that doesn't improve after watering, a mushy stem base, and a sour smell from the pot.
- The only certain diagnosis is unpotting the plant and checking root color and texture directly.
- Treatment means trimming every brown, black, or mushy root back to healthy tissue, then repotting into fresh, well-draining soil.
- Mild cases often bounce back in 2 to 4 weeks; moderate to severe cases can take 6 to 8 weeks or longer, and some plants lose the fight.
- Prevention comes down to watering by soil moisture instead of a calendar, using pots with real drainage, and refreshing potting mix every year or two.
What Does Root Rot Look Like?
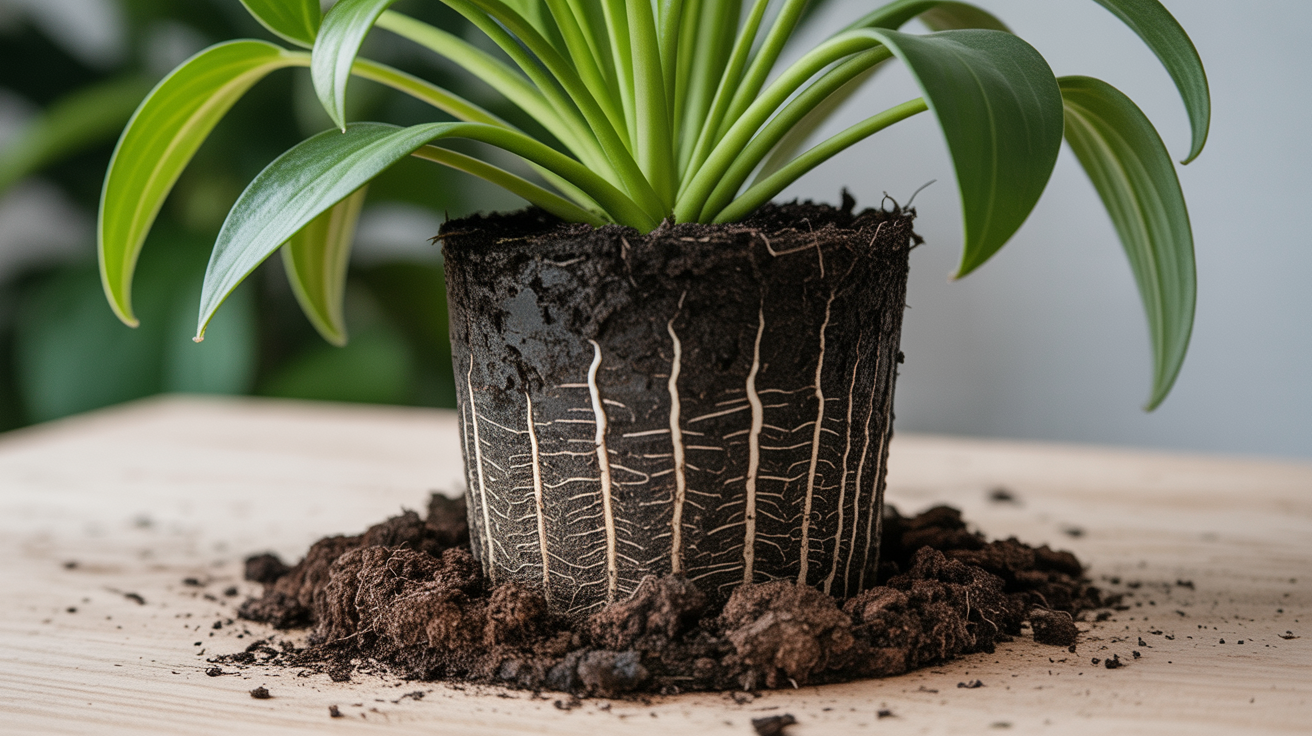
Root rot is a fungal condition, most often caused by Pythium, Phytophthora, or Fusarium species, that attacks roots sitting in anaerobic, waterlogged soil. According to Clemson Cooperative Extension's houseplant disease factsheet, these root and stem rot fungi cause stems to girdle with a ring of brown or black tissue at the soil line, and infected roots turn brown to black and soft. Healthy roots, by contrast, are firm and white or light tan.
The tricky part is that root rot starts underground. By the time you notice the leaves, the roots may already be badly compromised.
Above-Ground Signs
Watch for these root rot signs on the plant itself:
- Leaves that yellow from the bottom of the plant upward, even when light and fertilizer seem fine
- Wilting that does not improve after watering (the roots cannot pull up water regardless)
- Soft, mushy stems near the soil line
- A sour or rotten smell coming from the pot
- Soil that feels wet or sticky days after the last watering
Persistent yellow leaves with no clear cause are one of the earliest signals that something is wrong at the root level.
Below-Ground Signs
The only way to confirm root rot is to unpot the plant and look. Tip the pot on its side and ease the root ball out gently. If you see dark, mushy roots that pull apart easily rather than holding their shape, root rot is the diagnosis. A healthy root snaps or resists gently when tugged; a rotted root disintegrates between your fingers, sometimes leaving just a papery outer sheath behind.
Root Rot Severity at a Glance
Not every case looks the same, and how much of the root system is affected changes both the treatment and the odds. Use this as a rough guide once you've unpotted the plant and can see the roots directly.
| Severity | Root appearance | Above-ground symptoms | Typical recovery | What to do |
|---|---|---|---|---|
| Mild (under 25% of roots affected) | A few brown or soft tips; most roots still white or tan | Slight yellowing on 1 to 2 lower leaves; no real wilting | 2 to 4 weeks | Trim the affected tips, refresh the top few inches of soil, ease off watering |
| Moderate (25 to 50% affected) | Scattered brown or black sections mixed with healthy roots | Several yellow leaves; wilting that doesn't resolve after watering | 4 to 6 weeks | Full repot after trimming; consider a light foliage trim to match the reduced root mass |
| Severe (over 50% affected) | Most roots dark, mushy, and falling apart | Widespread yellowing, mushy stem base, general collapse | 6 to 8 weeks or longer, uncertain | Aggressive root and foliage trim; take a healthy stem cutting as a backup in case the parent plant doesn't make it |
How to Treat Root Rot Step by Step
Catching it early gives you the best odds, but even a moderately affected plant is worth trying to save.
What You Will Need
- Clean scissors or pruning shears, wiped with rubbing alcohol before you start
- A clean pot with drainage holes (the same size or slightly smaller than the original)
- Fresh, well-draining potting mix
- Optional: a diluted hydrogen peroxide solution (1 part 3% hydrogen peroxide to 3 parts water) or cinnamon powder as a natural antifungal
Step 1: Unpot and Inspect
Remove the plant from its pot. Shake or gently rinse the roots under lukewarm water to get a clear view of what you are working with. Lay the root ball out on a piece of newspaper or an old towel so you can see the full extent of the damage before you start cutting.
Step 2: Cut Away Damaged Roots
Use your sterilized scissors to trim off every root that is brown, black, or mushy. Cut back to healthy white or cream-colored tissue. If you are unsure whether a root is salvageable, remove it. Leaving one rotted root behind can reinfect the healthy roots after repotting, undoing the whole effort.
If more than half the root system is gone, trim back the foliage by a similar proportion. A heavily pruned root system cannot support a full canopy of leaves, and the plant will spend energy trying to sustain them instead of pushing new roots. Removing a third to a half of the leaves on a severely affected plant isn't a setback; it's what gives the remaining roots a fair shot.
Step 3: Treat the Remaining Roots
Let the roots air-dry for 20 to 30 minutes. Then do one of the following:
- Dip them briefly in a diluted hydrogen peroxide solution and let them dry again for 10 minutes before repotting
- Dust the cut ends with cinnamon, which has mild antifungal properties
Neither step is strictly required, but both give the remaining roots a fighting chance against any lingering fungal spores in the tissue or on your tools.
Step 4: Repot Into Fresh Soil
Choose a pot with at least one drainage hole. If the root system is now significantly smaller, size down the pot so excess soil does not hold moisture the roots cannot absorb. Fill the bottom third with fresh, well-draining mix, set the plant in, and fill around the roots without packing the soil too tightly.
For most tropical houseplants, a mix of standard potting soil cut with perlite (roughly 2 parts soil to 1 part perlite) drains well and still holds enough moisture to support recovery.
Step 5: Water Carefully
Water lightly after repotting, just enough to settle the soil, then hold off. Let the top 2 inches (5 cm) of soil dry out before watering again. The plant needs oxygen at the root zone more than it needs moisture right now. A soil moisture meter takes the guesswork out of the timing, especially if this is the plant that got you into overwatering trouble in the first place.
How Long Does Recovery Take?
A plant with mild root rot can show new growth within two to four weeks if conditions are right. A more severe case may take six to eight weeks, or longer. During recovery, keep the plant in bright indirect light (around 1,000 to 2,000 lux works for most tropical species) and hold fertilizer for at least four weeks. Feeding a stressed root system can burn the tender new roots as they form.
Temperature matters too. Most tropical houseplants recover best between 65°F and 80°F (18°C to 27°C). Avoid drafts, heating vents, or cold windowsills during this period. A plant that's already struggling to grow new roots has little energy left over to cope with temperature stress on top of it.
One practical sign to watch for: a slight tug on the stem should feel like resistance, not a loose wobble. New root growth anchors the plant back into the soil, and that gentle resistance is often the first confirmation that recovery is underway, well before you see new leaves.
What Causes Root Rot (and How to Prevent It)
Root rot does not appear out of nowhere. The conditions that allow it to take hold are almost always the same.
Overwatering
This is the most common culprit. Watering on a rigid schedule, regardless of what the soil actually needs, keeps the root zone wet for too long. University of Maryland Extension's guide to watering indoor plants recommends checking soil with a finger to a depth of about two inches before watering, rather than watering on autopilot. A better approach: check the soil before every watering and water only when the top layer has dried out to the appropriate depth for that plant (1 inch/2.5 cm for moisture-loving tropicals, 2 to 3 inches/5 to 7.5 cm for drought-tolerant species).
Poor Drainage
A pot without drainage holes traps water at the bottom no matter what you do. Decorative cachepots are fine as sleeves, but the nursery pot inside should always drain freely. Dump out excess water from saucers within 30 minutes of watering so roots are never sitting in a puddle.
Dense or Compacted Soil
Old potting mix compacts over time and holds water longer than it should. If a plant has been in the same soil for more than two years, the mix may be contributing to the problem. Refresh it during the repotting step, and don't reuse soil from a plant that had root rot without sterilizing it first.
Fungus Gnats
Fungus gnats lay eggs in wet soil, and their larvae feed on roots, creating tiny entry points for fungal pathogens. The University of California's Integrated Pest Management pest note on fungus gnats confirms that larvae "can damage roots and stunt plant growth" when present in large numbers, and lists overwatering as the main condition that lets populations build up. If you see small flies hovering near your plants, address them promptly. Our guide on how to get rid of fungus gnats in houseplants covers the most effective methods, including soil treatments and sticky traps.
Frequently Asked Questions
Can a plant fully recover from root rot?
Yes, if enough of the root system is still healthy and you treat it promptly. A plant that has lost most of its roots is harder to save, but not impossible. Trim aggressively, repot into fresh dry soil, and reduce watering until you see new growth. Patience matters as much as the initial treatment; resist the urge to keep unpotting the plant every few days to check on progress, since disturbing new roots slows things down.
Should I repot in the same pot?
Only if it drains well and you clean it thoroughly first. Wash the pot with soap and water, then rinse with a diluted bleach solution (1 tablespoon bleach per gallon of water) to kill any fungal spores clinging to the sides. Let it air-dry completely before using.
How do I know if my plant has root rot without unpotting it?
You can get a strong clue from the above-ground signs: wilting that does not recover after watering, persistent yellowing, and a sour smell from the soil. But the only definitive answer comes from unpotting and looking at the roots directly. If you suspect root rot, the temporary disruption of checking is worth it.
Can I treat root rot without repotting?
Not reliably. Removing the plant, cutting away damaged roots, and replanting in fresh soil is the only way to stop the rot from spreading. Skipping the repot means leaving infected roots in place and continuing to expose the remaining healthy roots to the same conditions that caused the problem.
How often should I water after treating root rot?
Wait until the top 2 inches (5 cm) of soil are dry before watering again, then water thoroughly and let it drain completely. For most houseplants during the recovery phase, this works out to roughly every 7 to 14 days, depending on pot size, light level, and the humidity in your home. Adjust based on what you feel in the soil, not the calendar.
Will the same pot cause root rot again if I don't change anything else?
It can, if the underlying habit doesn't change. A clean pot and fresh soil only remove the existing problem; they don't prevent a new one if you go back to watering on a fixed schedule. Pair the repot with a real moisture check before every future watering, and consider a pot one size down if the old one was clearly too large for the root mass.