Indoor Setup
How to Acclimate a New Houseplant
Learn how to acclimate a new houseplant so it settles in without leaf drop, stress, or surprise pest problems. Step-by-step guidance for the first few weeks.
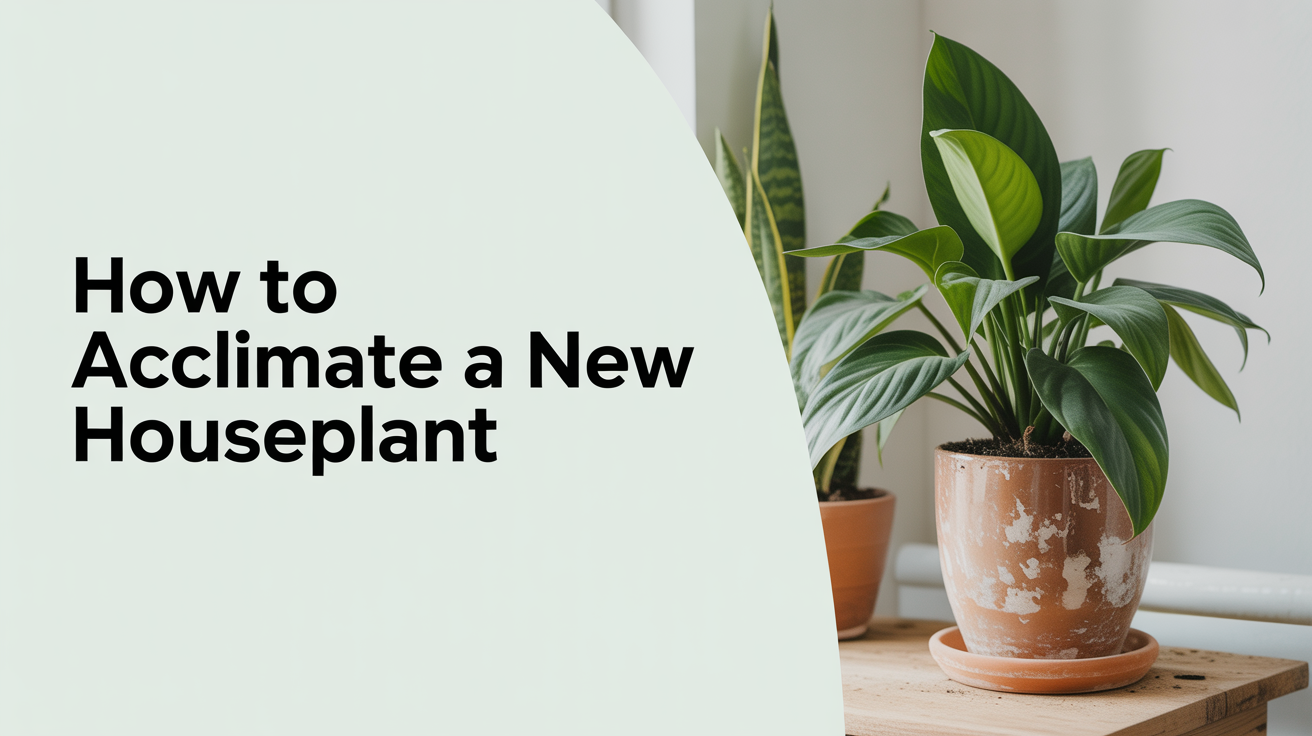
You bring a plant home, give it a good spot, and three days later it starts dropping leaves. This plays out constantly, and it almost always comes down to one thing: the plant hasn't had time to adjust. Greenhouses, nurseries, and shipping environments are nothing like the average living room. Light levels, humidity, temperature, and airflow all shift dramatically when a plant crosses your threshold, and the plant's roots and leaves have to physically restructure to cope. That process takes weeks, not days.
Knowing how to acclimate a new houseplant properly means setting expectations, giving the plant what it needs during the transition, and avoiding the well-meaning moves that actually make things harder.
At a Glance
- Leaf drop in the first one to two weeks is normal acclimatization, not a sign your care is wrong.
- Quarantine every new plant in a separate room for two to four weeks before it touches your existing collection.
- Change one variable at a time, slowly: move toward the permanent light spot over five to seven days, not all at once.
- Skip fertilizer and repotting for the first three to four weeks; the plant can't use either while it's still adjusting.
- Check soil moisture before watering rather than following a fixed schedule, since a plant in transition uses water more slowly than an established one.
- Most houseplants fully settle in two to six weeks; fast growers like pothos often finish in about two.
Why New Plants Drop Leaves After You Bring Them Home
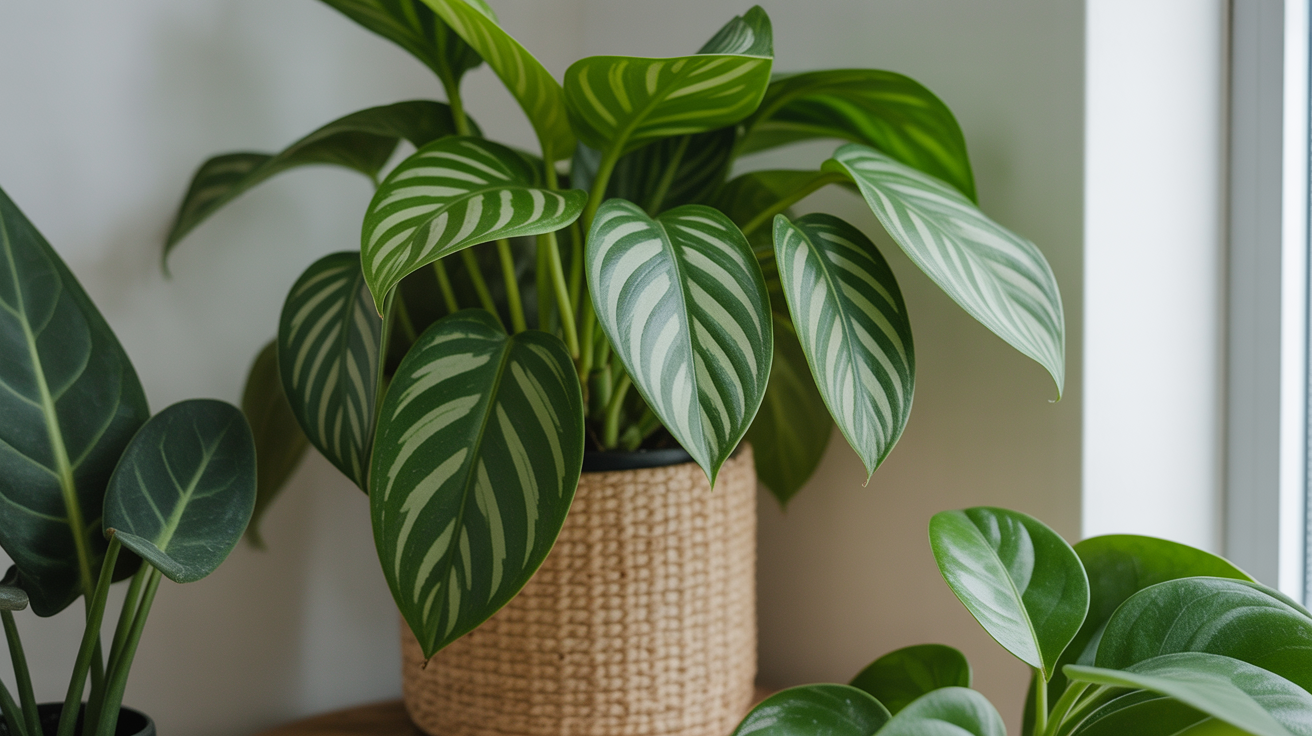
Leaf drop in a brand-new plant is almost always acclimatization, not a signal that something is wrong with your care. A plant growing under high-output greenhouse lighting or in a humid propagation house has leaves built for those conditions. The cells are configured for a specific light intensity and water loss rate. When that environment changes suddenly, those leaves become inefficient, and the plant sheds them to redirect energy toward producing leaves that actually suit the new conditions.
The role of light change
Nursery growing conditions often involve supplemental lighting at levels your windowsill cannot match. When a plant moves from high light to lower light, the leaves it built for the old environment are essentially running at a loss. Dropping them is the plant's way of cutting losses before rebuilding.
The same logic applies in reverse. If you buy a plant from a dim garden centre corner and put it in a bright south window, older shade-adapted leaves can bleach or burn. A gradual transition prevents both problems.
Temperature and humidity shifts
Most tropical houseplants prefer daytime temperatures between 18°C and 27°C (65°F to 80°F) and nighttime temperatures no lower than 13°C (55°F). A plant that spent weeks in a heated greenhouse and then travels in a cold delivery van has already experienced one shock. Arriving at your home is the second. Humidity is another factor: greenhouse air is often kept at 60% relative humidity or above, while the average home hovers between 30% and 50%, dropping lower near heating vents in winter. University of Maryland Extension notes that most indoor environments simply lack the humidity houseplants need, which is exactly the gap a plant coming from a humid greenhouse has to close on its own over the first several weeks.
Acclimation Timeline at a Glance
| Timeframe | What to Do | What to Avoid |
|---|---|---|
| Days 1-7 (quarantine, settling in) | Place in moderate, indirect light; water only if soil is dry at 2 inches | Repotting, fertilizing, moving the plant around |
| Weeks 2-3 | Begin moving toward the permanent spot over 5-7 days; finish quarantine pest checks | Moving all at once into strong direct light |
| Week 4+ | Start a normal watering check-in routine; introduce diluted fertilizer if in season | Fertilizing at full strength right away |
| Weeks 2-6 (varies by species) | Watch for new growth as confirmation the plant has settled | Assuming no new growth by week 2 means something is wrong |
Quarantine New Plants Before Introducing Them to the Rest of Your Collection
Before you even think about placement, put any new plant in a separate room from your existing plants for two to four weeks. This is the part most people skip, and it's also the part that protects everything else you own.
Nursery plants carry pests. Not always visibly, not always badly, but spider mites, mealybugs, fungus gnats, and scale insects travel as eggs or as early-stage nymphs you'd need a magnifying glass to notice. Getting a plant through the quarantine window before it touches your collection means a single infested purchase doesn't cascade into a whole-shelf problem.
What to look for during quarantine
Check the plant every few days. Flip a few leaves and look along the midrib and at the stem nodes. Sticky residue on leaves is a sign of scale or aphids. Fine webbing in the axils points to spider mites. White cottony clusters at the base of stems are mealybugs. Tiny flies hovering around the soil are fungus gnats, usually brought in through infested potting mix. The UC IPM Pest Note on fungus gnats points out that the larvae live in the top layer of soil and feed on organic matter and fine root hairs, which is exactly the kind of damage that can go unnoticed on a new plant until you're already watering it in its permanent spot next to everything else.
If you spot something during quarantine, you can deal with it in isolation. Our full rundown of common houseplant pests and how to spot them covers what to look for pest by pest, including the ones that hide well enough to survive a casual glance. If you spot it after the plant has been sitting next to your other plants for a month, you have a much larger problem to solve.
How to Acclimate a New Houseplant Step by Step
The core principle is simple: change as few variables as possible, as slowly as possible. The goal is to give the plant a stable environment while it rebuilds leaf structure and reorients its root system.
The first week: leave it alone
Put the plant in its quarantine spot with light conditions that are neither the brightest nor the dimmest in your home. Moderate, indirect light suits almost everything during this phase. Don't repot yet. Don't fertilize. Water only if the soil is genuinely dry at the two-inch depth. Resist the urge to mist daily, which can create conditions for fungal issues without actually raising ambient humidity in a meaningful way.
The plant will likely look fine, or it may drop a leaf or two. Both are normal. What you are watching for is more dramatic decline: multiple leaves going limp at once, yellowing across the whole plant, or stem sections turning soft or black.
Weeks two and three: begin moving toward the permanent spot
Once the quarantine period ends and the plant is pest-free, start transitioning it toward its intended home. If it's going into a bright window, move it there over the course of five to seven days rather than all at once. Start by putting it two or three feet back from the window, then move it closer every day or two. This matters most for plants going into higher light, where too-fast a move can cause leaf scorch.
During this period, you can also check whether the pot it came in suits your space. Nursery pots are functional but rarely sized right for long-term growing. Choosing a pot that matches the plant's root mass is worth doing now rather than waiting until the plant is fully settled, since repotting while the plant is still adjusting gives roots a chance to spread into fresh soil alongside the rest of the adjustment. That said, if the plant is showing any stress at all during this window, wait until week four to repot rather than stacking two adjustments on top of each other.
Week four onward: normal care begins
By the end of the first month, most plants are ready for a normal routine. Begin watering on a schedule that matches the plant's actual needs (checking soil moisture rather than going by calendar), and introduce a diluted fertilizer dose if you're in the growing season (spring through early autumn). Keep temperature away from cold drafts and heating vents; both create localized stress that can extend the adjustment period.
Getting the Light Right for the Long Term
Light is the most common mismatch in houseplant care, and it's where acclimatization decisions have lasting consequences. A plant placed in the wrong light level won't thrive no matter how well you water or fertilize.
For genuinely dim rooms, focus your selection on species that evolved in low-canopy forest understories: cast iron plants, ZZ plants, pothos, and snake plants all handle low light well. A guide to the best low-light houseplants can help you narrow down which species make sense for a north-facing room or a basement apartment with small windows.
If your natural light is limited and you want to grow something more demanding, a grow light can genuinely fill the gap. The key is understanding that not all grow lights are equal in spectrum or intensity. A beginner's overview of grow lights covers what to look for and how far to position the fixture from the plant.
Watering During the Acclimation Period
The most common care mistake during the first few weeks is overwatering out of concern. A plant in transition is not actively growing; it's rebuilding. Its water uptake is slower than it will be once established, which means the soil stays wet longer than usual. Watering on the same schedule you'd use for a healthy, settled plant almost always leads to soggy roots and root rot. University of Maryland Extension's finger-test method, checking the soil about two inches down before deciding whether to water, applies even more directly during acclimation, when a plant's reduced water use makes overwatering easier to fall into than usual.
The fix is simple: check before you water. Push a finger about two inches into the soil. If it comes out with damp particles, wait. If it comes out clean and dry, water thoroughly and let the excess drain completely. Never let the pot sit in standing water, and make sure the container has at least one drainage hole.
Water temperature matters for tropical species. Cold tap water can shock roots. Letting water sit at room temperature for an hour before you water is a small habit that makes a real difference.
Frequently Asked Questions
How long does it take for a new houseplant to acclimate?
Most houseplants need two to six weeks to settle into a new environment. Fast-growing species like pothos and philodendrons often adjust within two weeks. Plants that traveled long distances or experienced cold stress in transit can take the full six weeks before putting out new growth.
Is leaf drop normal after buying a new plant?
Yes, losing a few leaves in the first week or two is typical. The plant is shedding foliage that doesn't suit its new light and humidity conditions so it can redirect resources toward leaves that do. Steady, significant leaf drop across multiple stems, or leaves that go limp and don't recover, suggests a more serious issue like root rot or severe pest damage.
Should I repot a new plant right away?
It's usually better to wait three to four weeks. Repotting adds another layer of stress on top of the acclimatization process, and roots need stable conditions to establish. The exception is if the plant is extremely root-bound and the soil is drying out within a day of watering, in which case staying in the current pot is more damaging than the disruption of repotting.
Why is my new plant wilting even though I just watered it?
Wilting after watering usually points to a root problem rather than drought. If the roots have been sitting in wet soil, they can rot to the point where they can no longer absorb water. Lift the plant out of its pot and check: healthy roots are white or cream-colored and firm. Brown, mushy roots that smell sour indicate rot. Trim the damaged sections with sterile scissors, let the roots air out for a few hours, and repot into fresh, well-draining mix. Our guide on treating root rot covers the full recovery process if the damage looks extensive.
Can I fertilize a new plant to help it recover?
Skip fertilizer for the first month. Fertilizer stimulates growth, and a plant in transition doesn't have the root capacity to support rapid new growth. Pushing it too early can actually stress the plant further. Once the plant shows clear signs of settling, such as new leaves unfolding or existing leaves looking firm and healthy, a half-strength dose of a balanced liquid fertilizer during the growing season is appropriate.
Do I need to quarantine a plant I'm confident came from a clean grower?
Yes, treat every new plant the same way regardless of where it came from. Even reputable growers ship through distribution chains that mix stock from multiple sources, and pests like spider mite adults or mealybug eggs are easy to miss during a quick visual check at pickup. Two to four weeks of quarantine costs you nothing but a bit of patience, while skipping it on the "this one looks fine" assumption is exactly how a single purchase turns into a shelf-wide infestation.
My new plant arrived by mail looking droopy. Should I do anything differently?
Give shipped plants a slightly gentler start than ones bought in person. They've usually gone through several days in the dark with temperature swings, on top of the same adjustment every new plant faces. Unpack it immediately, water only if the soil is dry, and hold off judging its condition for about a week; a lot of shipping stress resolves on its own once the plant is back in stable light and temperature. Avoid the temptation to repot or fertilize right away just because it looks rough, since that adds stress rather than relieving it.